Installing Docker on your machine to create a development environment is really a very simple operation. Let’s see how to install it on Windows, Mac and Ubuntu.
How to install Docker: Windows, Mac and Ubuntu
In this mini-guide, we shall see how to install Docker on Windows, Mac and Ubuntu.
Installing Docker on Windows
Before starting the installation, make sure that your version of Windows is either Pro, Enterprise or Education.
If you have Windows Home, you’ll need to install WSL 2, a subsystem for windows that enables you to create a Linux environment on which Docker can run.
WSL 2 Installation Guide: https://docs.microsoft.com/en-us/windows/wsl/install-win10
At this point, we should download the installer. The Docker for Windows installer can be downloaded from the Docker Hub:
Double click on the .exe executable and follow these steps:
- When prompted, make sure you enable the Hyper-V option.
- Follow the installer instructions and authorise it to proceed.
- Complete the process and close the installer.
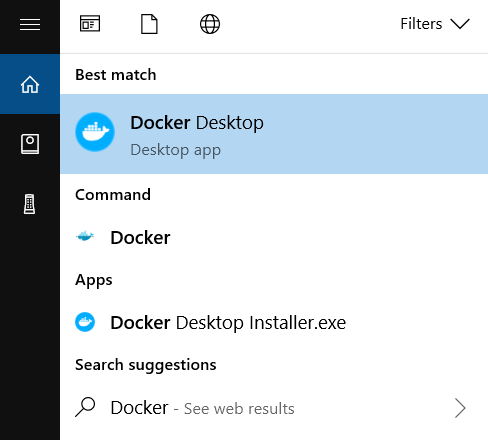
To launch Docker, search for “Docker” and choose “Docker Desktop” from the search results.
Installing Docker on Mac
As with Windows, to install Docker on Mac, you need to download the installer from Docker Hub.
As a minimum requirement, your computer must not be a pre-2011 model, and you must have a version of macOS equal to or later than 10.14.
Note that if your model is very recent and features a new generation M1 processor, no stable version of Docker is available as of the date of writing this article. You may opt to download a version still under development called Apple M1 Tech Preview. Carefully read the “Known issues” section, where the limitations and known problems are listed.
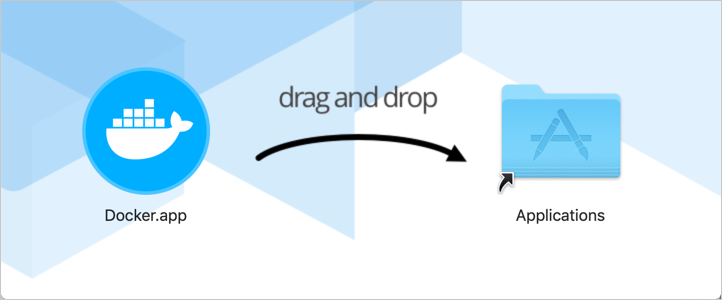
Once you have downloaded the installer with .dmg extension, double click. A window will open with the Docker icon and the applications folder. Drag Docker.app into the applications folder.
Now search for Docker from the spotlight (cmd + space) and launch Docker.
You should be able to see the Docker icon on the top right status bar.
When the icon remains stationary, it indicates that the boot process has completed.
Installing Docker on Ubuntu
To install Docker on Ubuntu, you need to follow some command line steps.
- Install a number of packages needed to use a repository over HTTPS:
$ sudo apt-get update
$ sudo apt-get install \
apt-transport-https \
ca-certificates \
curl \
gnupg-agent \
software-properties-common - Add the official Docker GPG key:
$ curl -fsSL https://download.docker.com/linux/ubuntu/gpg | sudo apt-key add –
- Add the repository:
$ sudo add-apt-repository \
“deb [arch=amd64] https://download.docker.com/linux/ubuntu \
$(lsb_release -cs) \
stable”Note that you can set a different value of “arch” if your processor has an architecture other than x86, such as armhf or arm64.
- Install Docker Engine:
$ sudo apt-get update
$ sudo apt-get install docker-ce docker-ce-cli containerd.io
Docker installation is now complete.
Read related articles
Kubernetes Cloud: Cloud services for Kubernetes, practical mini guide
Kubernetes Cloud: let’s see up close Amazon Elastic Kubernetes Service (EKS), Google Kubernetes Engine (GKE) and Azure Kubernetes Service (AKS)
How Kubernetes works: operation and structure
How Kubernetes works: a mini guide to one of today’s most important tools for developers. How does Kubernetes work? As
Docker vs Kubernetes: let’s see how they differ
Docker vs Kubernetes: let’s see how they differ and why it sometimes gets a little confusing We often hear people

 Italiano
 Español

