

 Italiano
 Español
Roaming Profiles allow users of an Active Directory Domain to access their desktop and documents from any PC of the domain.
It’s a powerful feature that can improve the productivity of the employees and make their lives easier.
The best thing about Roaming Profiles is how they are easy to set up.
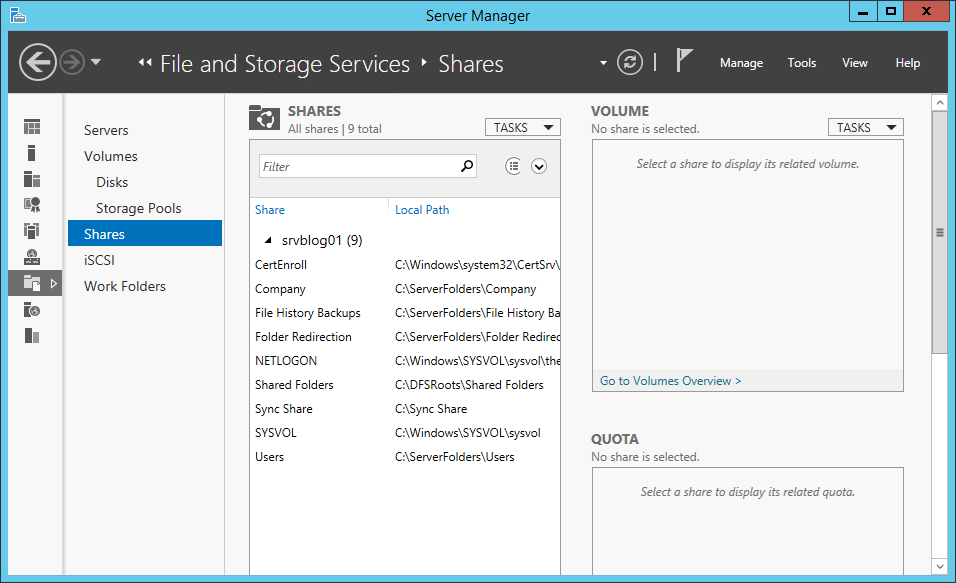
Before configuring a Roaming Profile, we need to create a Share. Open the Server Manager and go to the Shares tab:
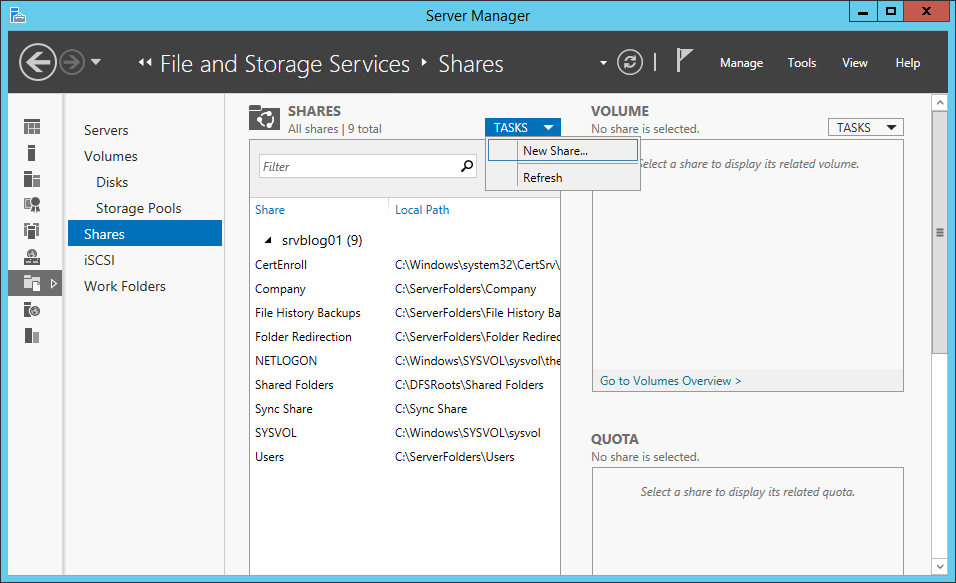
Create a new Share:
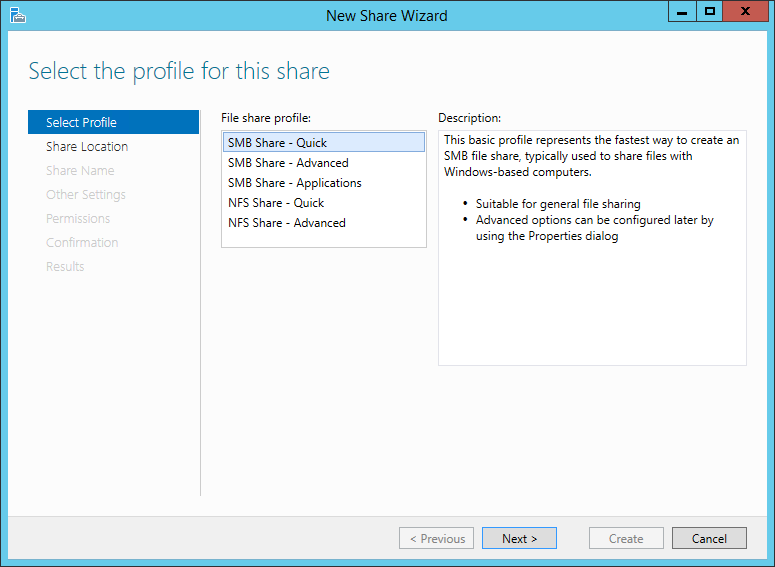
Click Next:
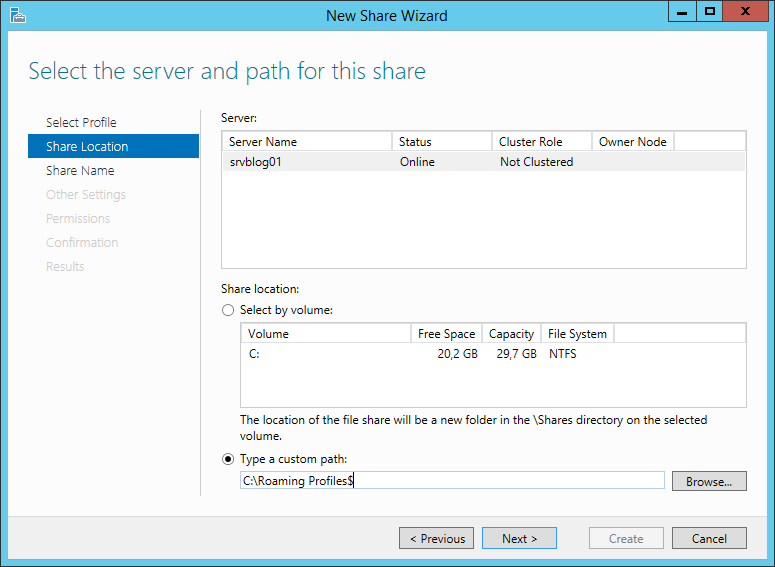
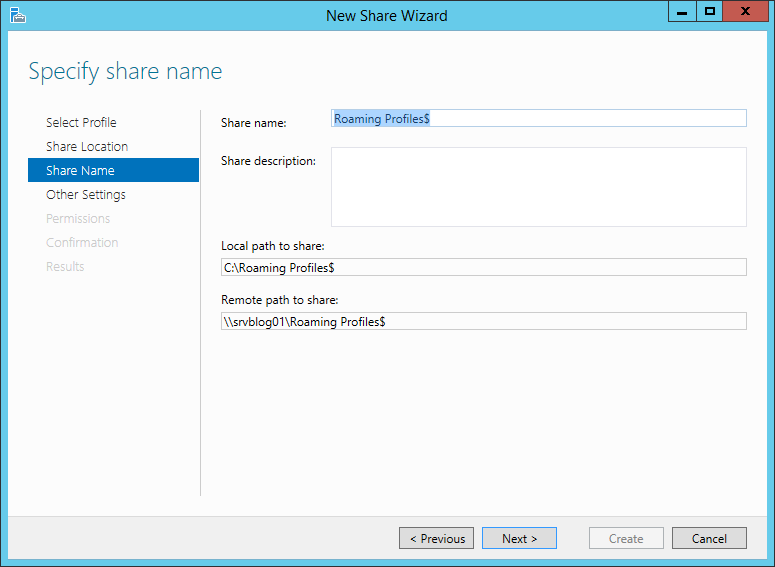
Specify the path of the Roaming Profiles. Add a $ to the end of the path to make the shared folder invisible:
Click Next:
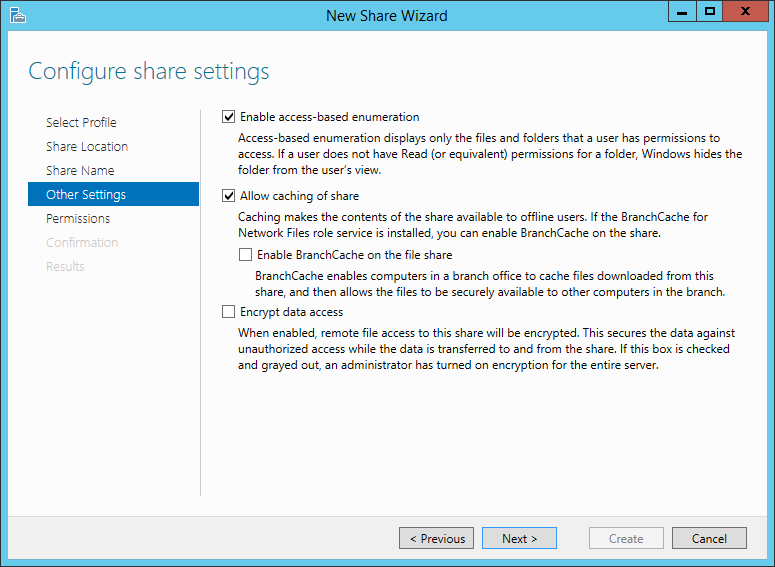
Enable access-based Enumeration (for better security):
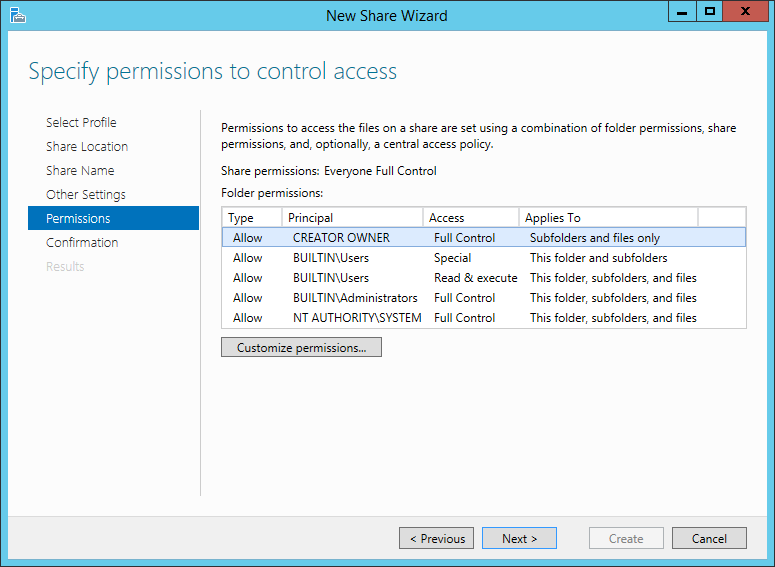
Now it’s time to customize the permissions. We need to allow the access to Domain Users (or another Group). Click Customize permissions:
Click Add:
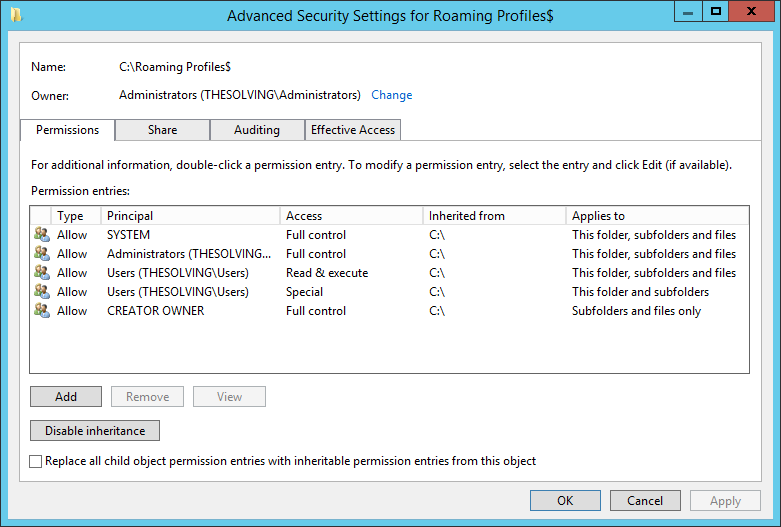
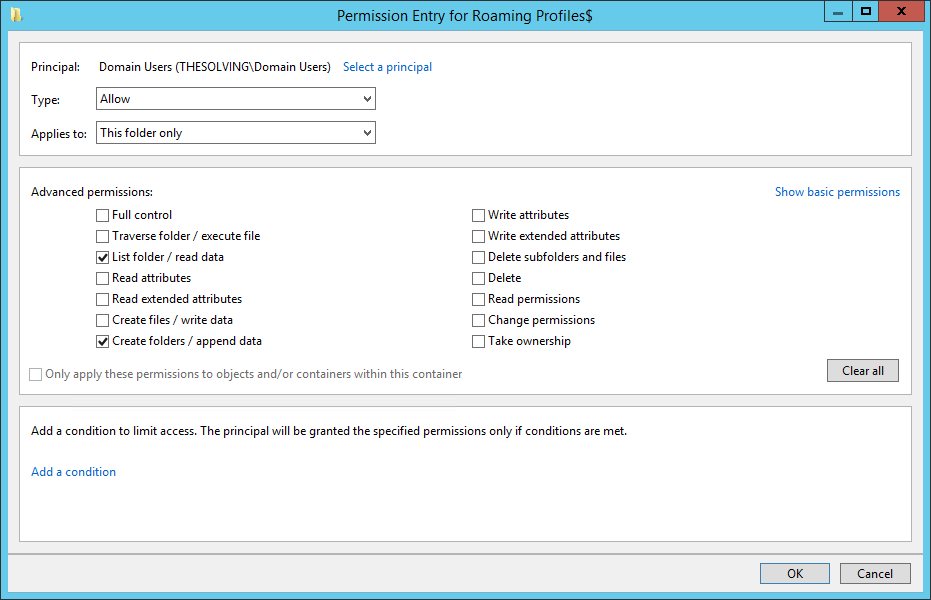
Select the group (Domain Users in our example) and apply the permissions to This folder only. You need to enable List folders / read data and Create folders / append data:
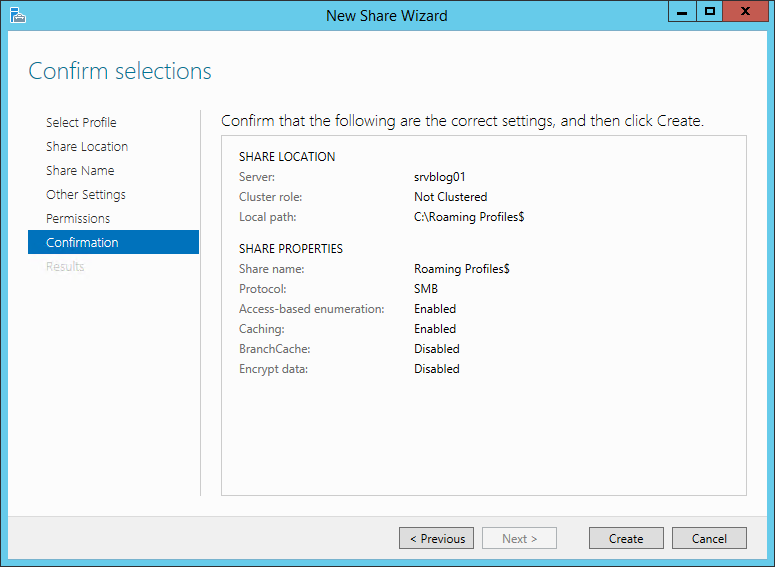
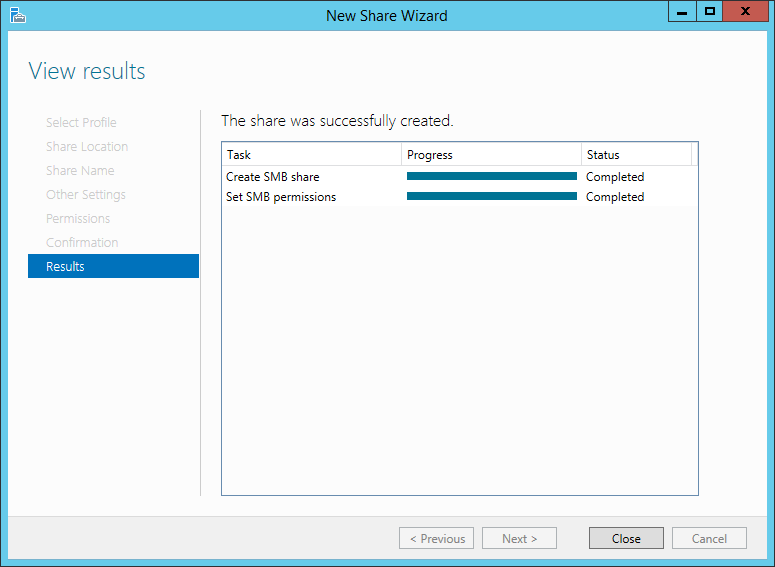
Confirm and the share will be created:
Now the final step. Open the Active Directory Users and Computers panel:
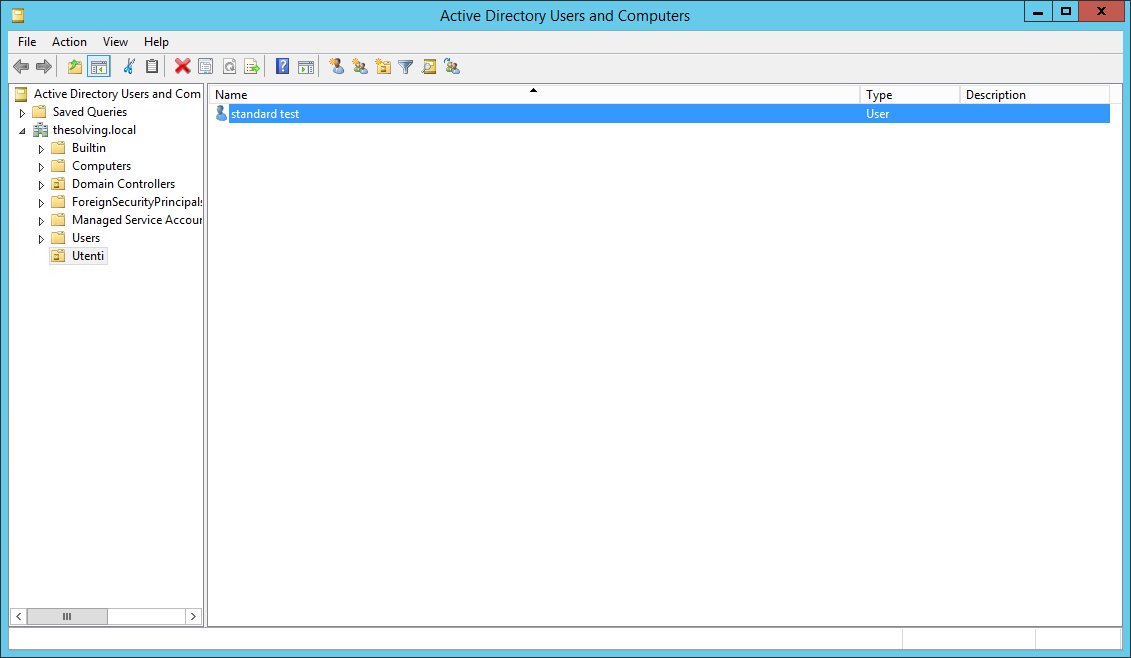
Open the Properties of a user and go to the Profile tab. Specify the Profile Path: \\server_name\profile_folder_name\%username%
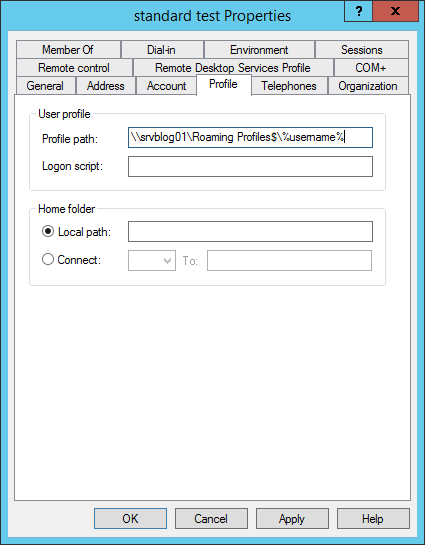
Mission accomplished! Your first Roaming Profile is enabled and active. To create other Roaming Profiles use the copy functionalities or manually specify the Profile Path.
You can also create a policy to automate the process.
Read related articles
How to configure static routes to route traffic through a specific gateway
Learn how to configure static routes on Windows Server and Windows 11 using route add and PowerShell’s New-NetRoute, so traffic to specific destinations takes the gateway you choose.
How to reset NTFS permissions with ICACLS
Learn how to fix broken NTFS/ACL permissions on Windows Server using ICACLS: reset ACLs, handle access denied errors, take ownership, and back up permission trees safely.
Configuring and using Windows Deployment Services (WDS)
A 2026 guide to WDS: installation, PXE boot, boot/install images, and the limitations introduced with Windows 11 and Server 2025.